

Action Required For Blocto Wallet Users – Migrate Your Assets Before Blocto Closes Down
Attention Flow community members using Blocto,
This is a critical reminder regarding the upcoming closure of the Blocto wallet. Blocto will officially be closing its services on December 18th at 7:00 PM PST.
To ensure the safety of your funds, you must move your $FLOW and other assets out of your Blocto wallet before this deadline. This post contains three methods for securing your funds: importing your account using the Blocto Recovery Kit, sending them to a Centralized Exchange (CEX), or manually transferring them to a self-custody Flow wallet.
Please review the options below and take action immediately.
Option 1: Account Migration from Blocto to Flow Wallet
For a seamless transition that retains your current Flow address, you can use the Blocto Recovery Kit to import your account directly into Flow Wallet.
How to Migrate using the Recovery Kit:
- Enable Non-Custodial Mode: In your Blocto app, go to Settings and select Non-Custodial Mode.
- Set Recovery Password: You will be prompted to create a "Recovery Password." Write this down and store it safely; it is required for the import process.
- Verify & Download: After confirming your password and verifying the One-Time Passcode (OTP), you will receive an email containing your Recovery Kit PDF. Save this file.
- Install Flow Wallet: Ensure you have the Flow Wallet Extension installed on your Chrome browser.
- Import Wallet: Open the Flow Wallet extension and select "Import Wallet."
- Upload Recovery Kit:
- If you are on the latest version of Flow Wallet (v3.1.5+), you can simply upload your Recovery Kit PDF.
- Alternatively, open the PDF, copy the JSON object text inside, and paste it into the input field.
- Finalize Import:
- Enter the Recovery Password you created in step 2.
- Input your Flow address in the final field.
- Click "Import."
This video is a complete guide on how to follow this process on a molbile iOs device
Option 2: Send to a Centralized Exchange (CEX)
If you have an account on a centralized exchange that supports $FLOW, you can transfer your funds there.
Steps to Transfer:
1. Get Your Deposit Address: Log into your chosen exchange (e.g., Binance, Coinbase, Kraken, OKX) and navigate to the "Deposit" section. Search for FLOW and copy your specific deposit address.
2. Open Blocto: Launch the Blocto app and sign in.
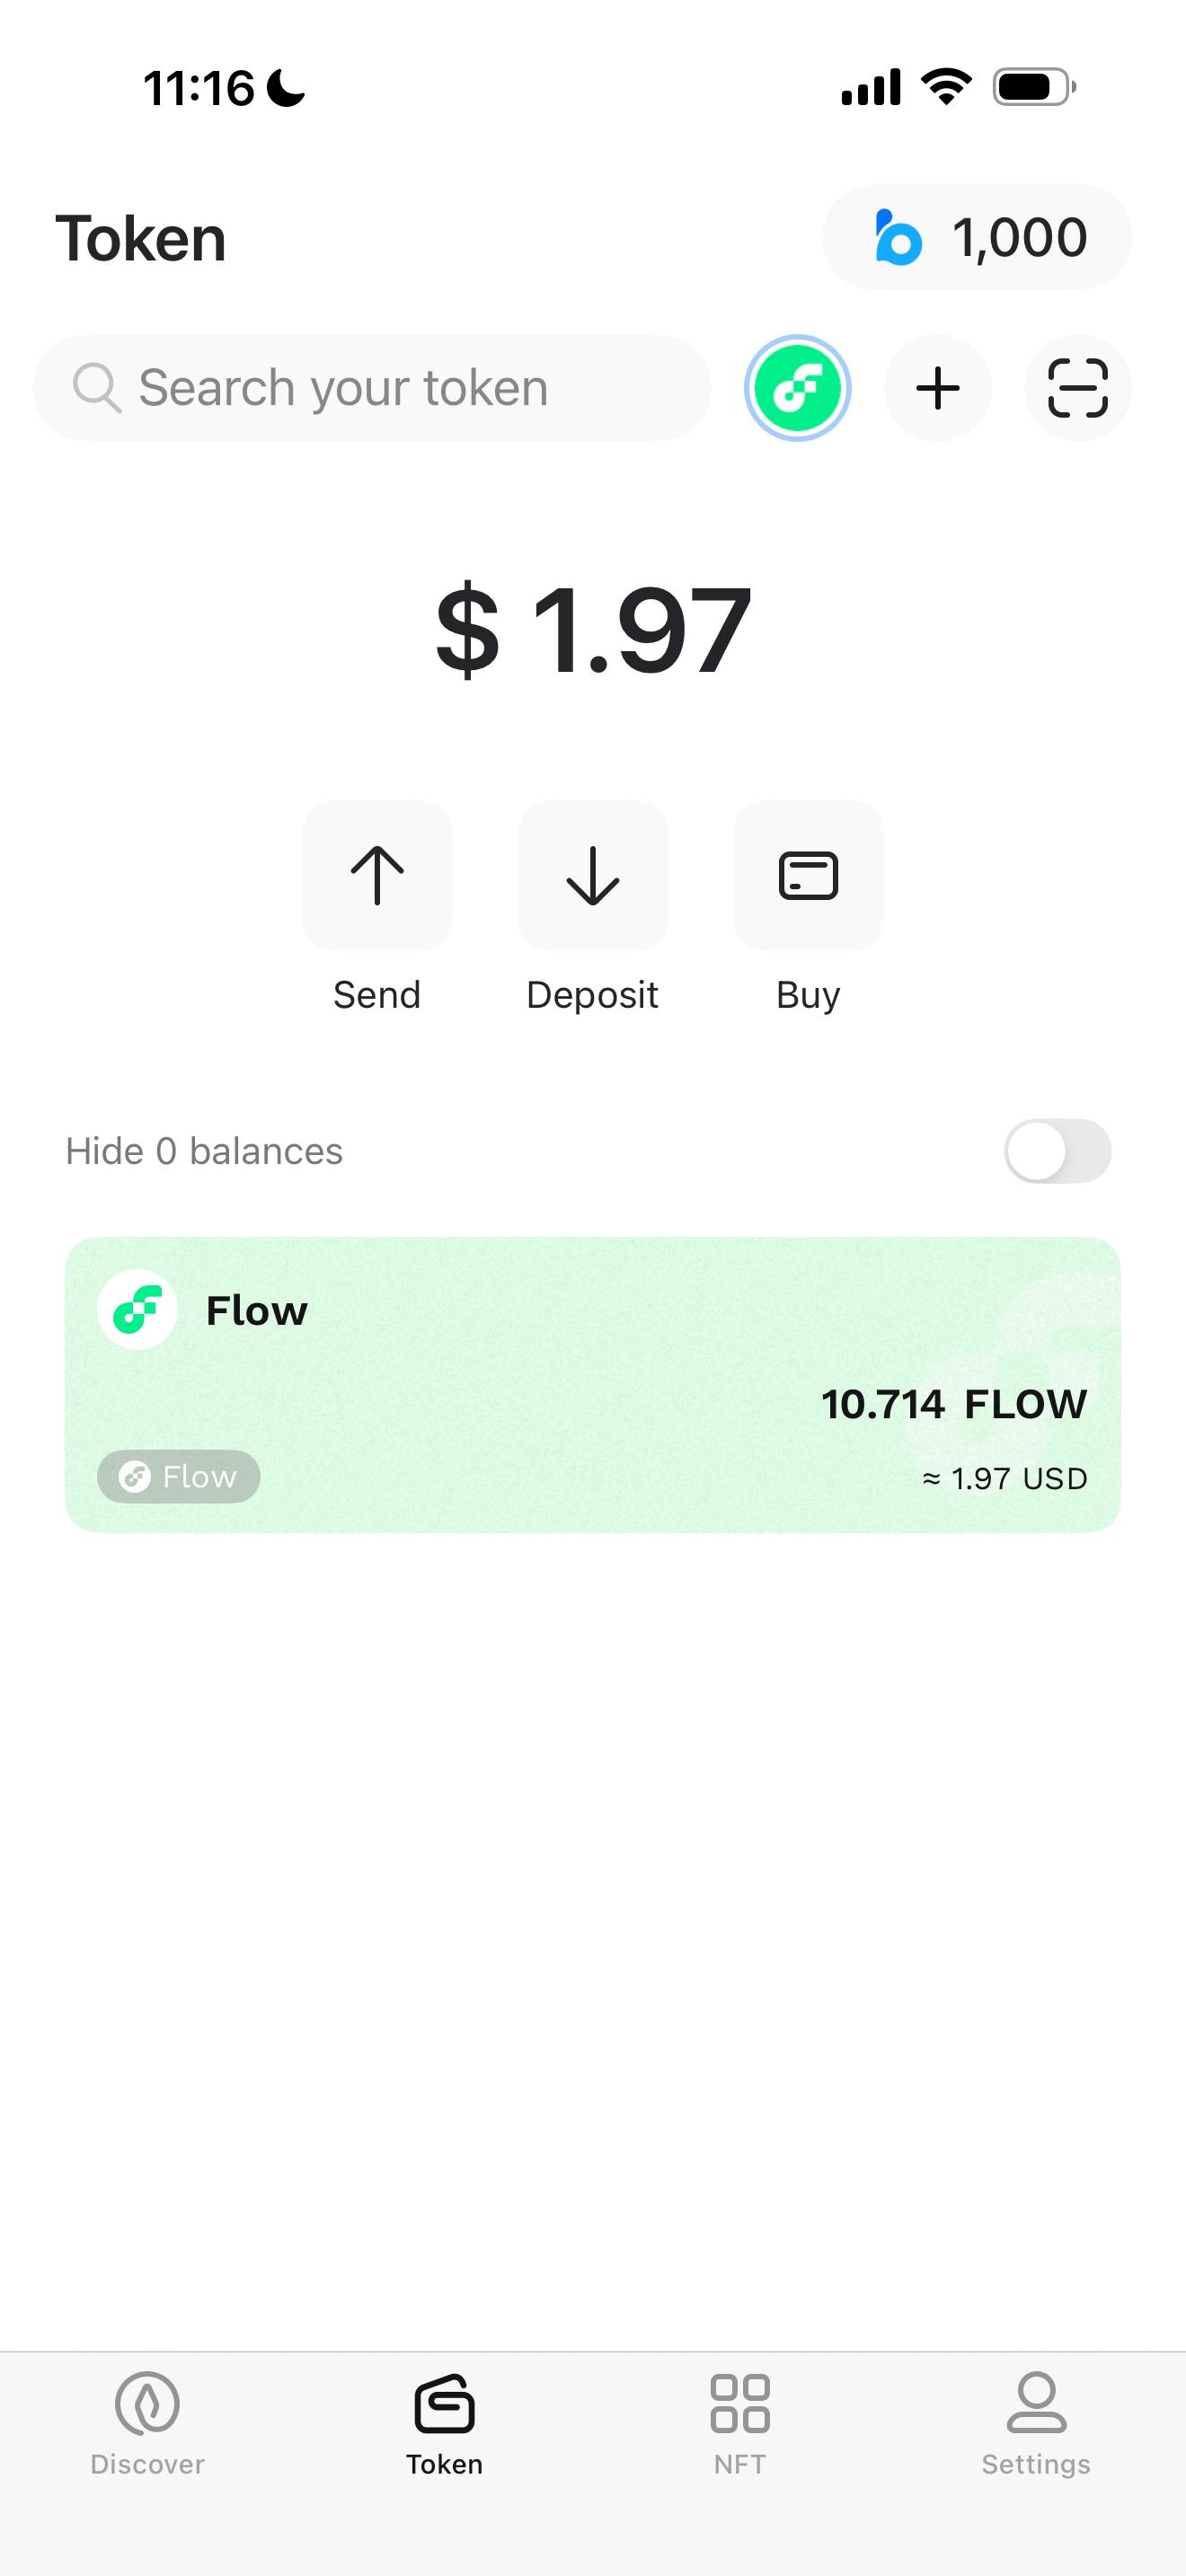
3. Select FLOW: Tap on the $FLOW token in your wallet assets list.
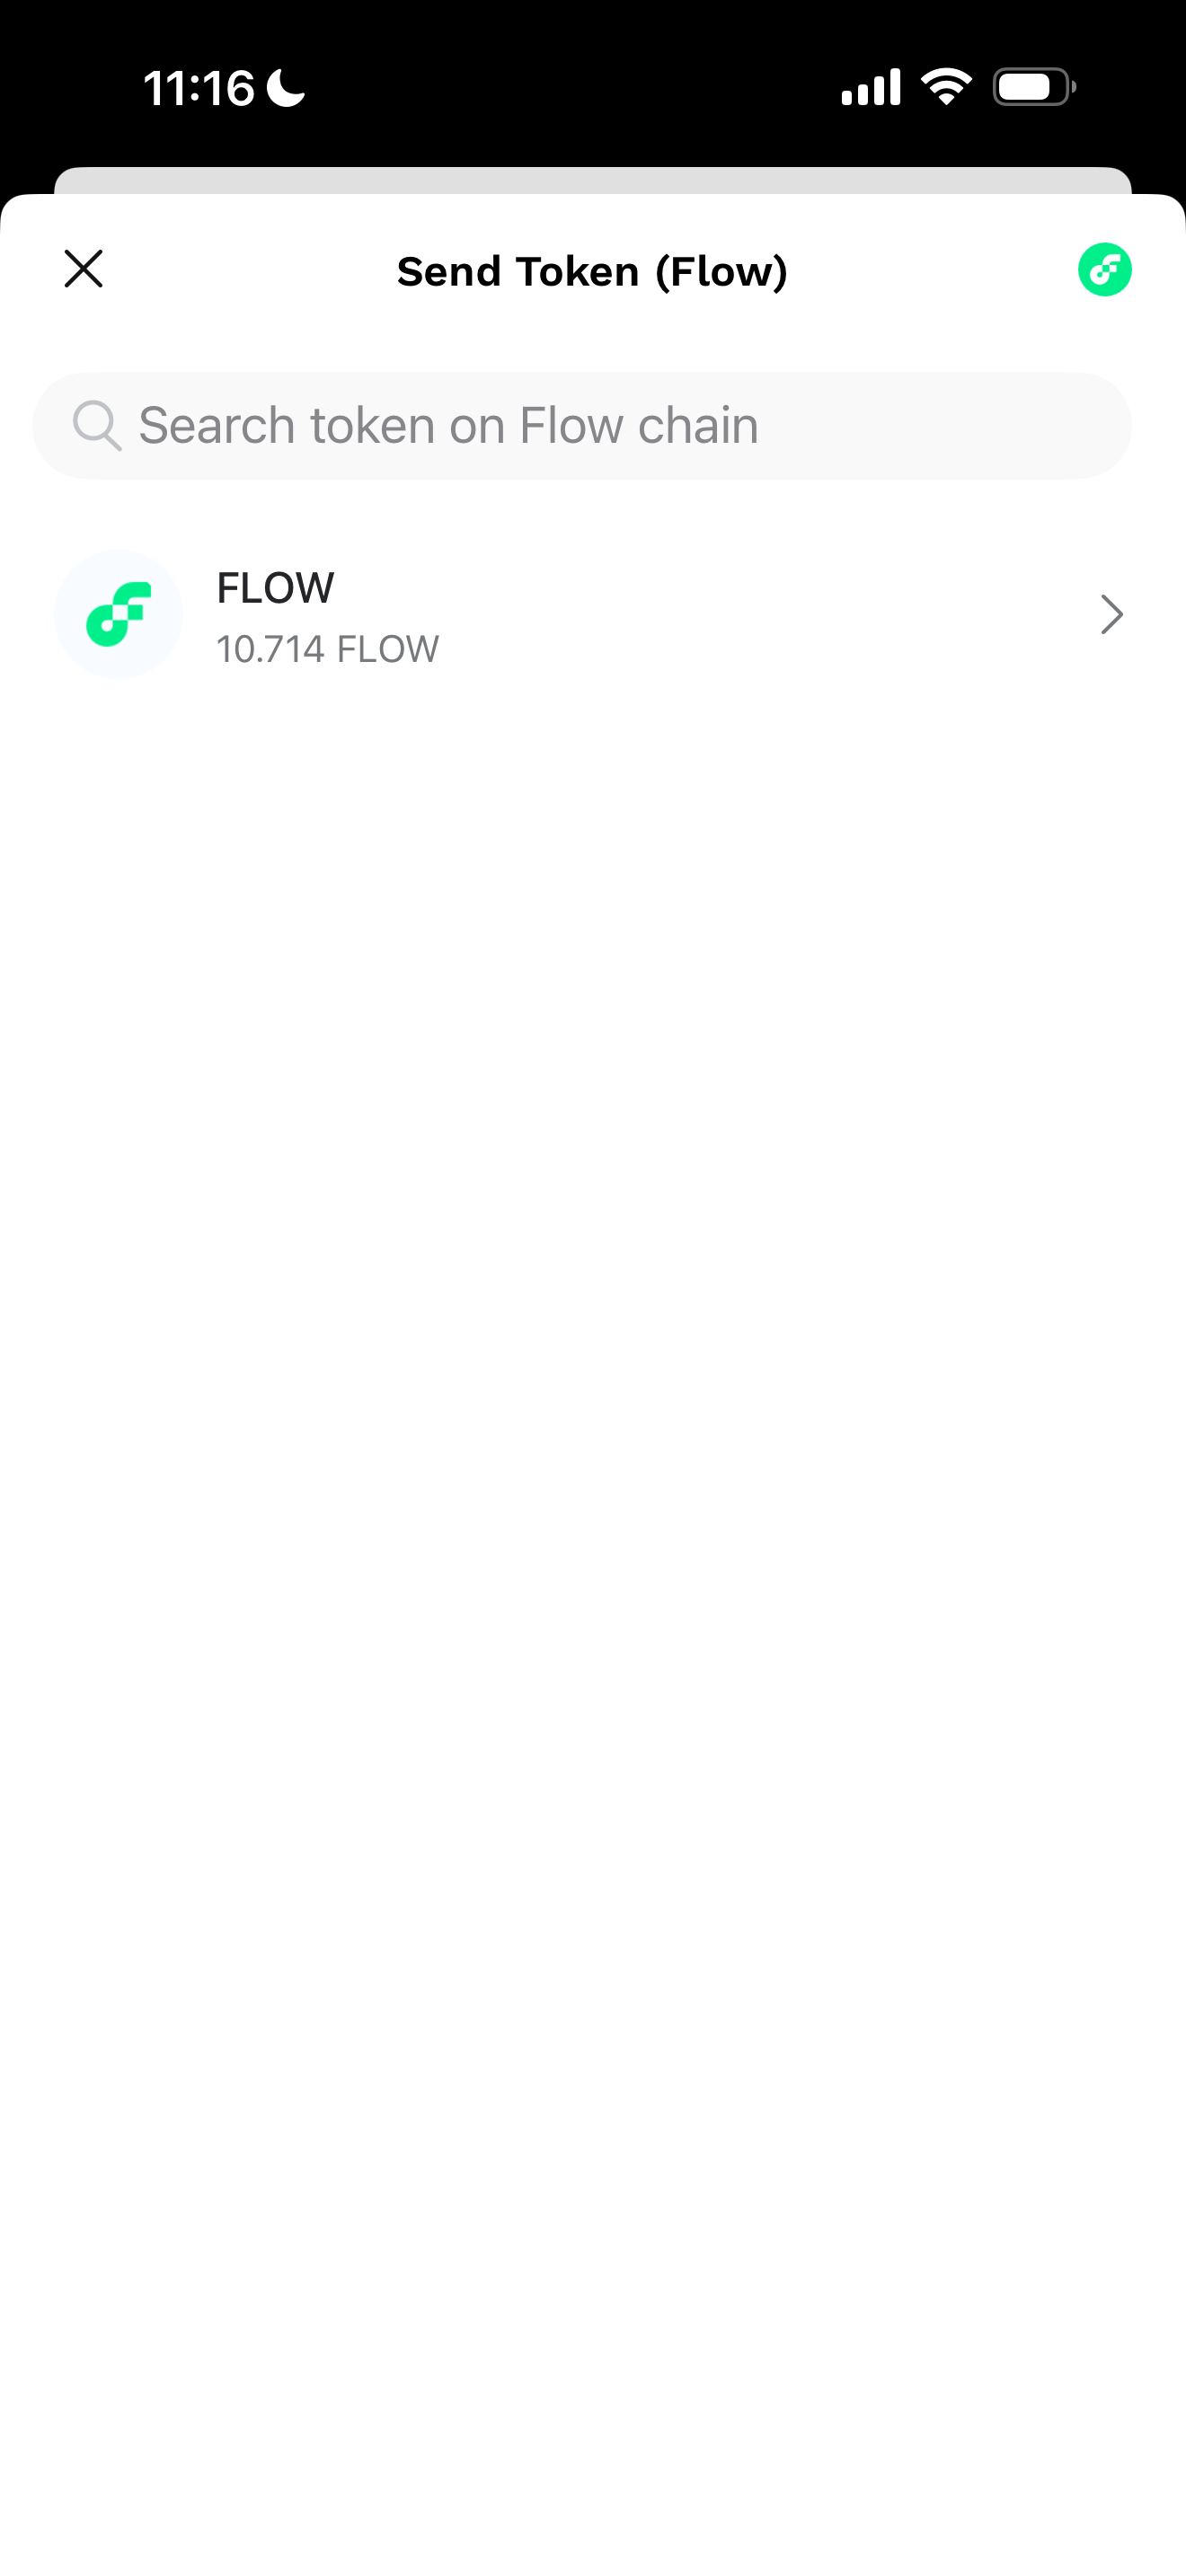
4. Initiate Send: Tap the "Send" button.
5. Enter Details:
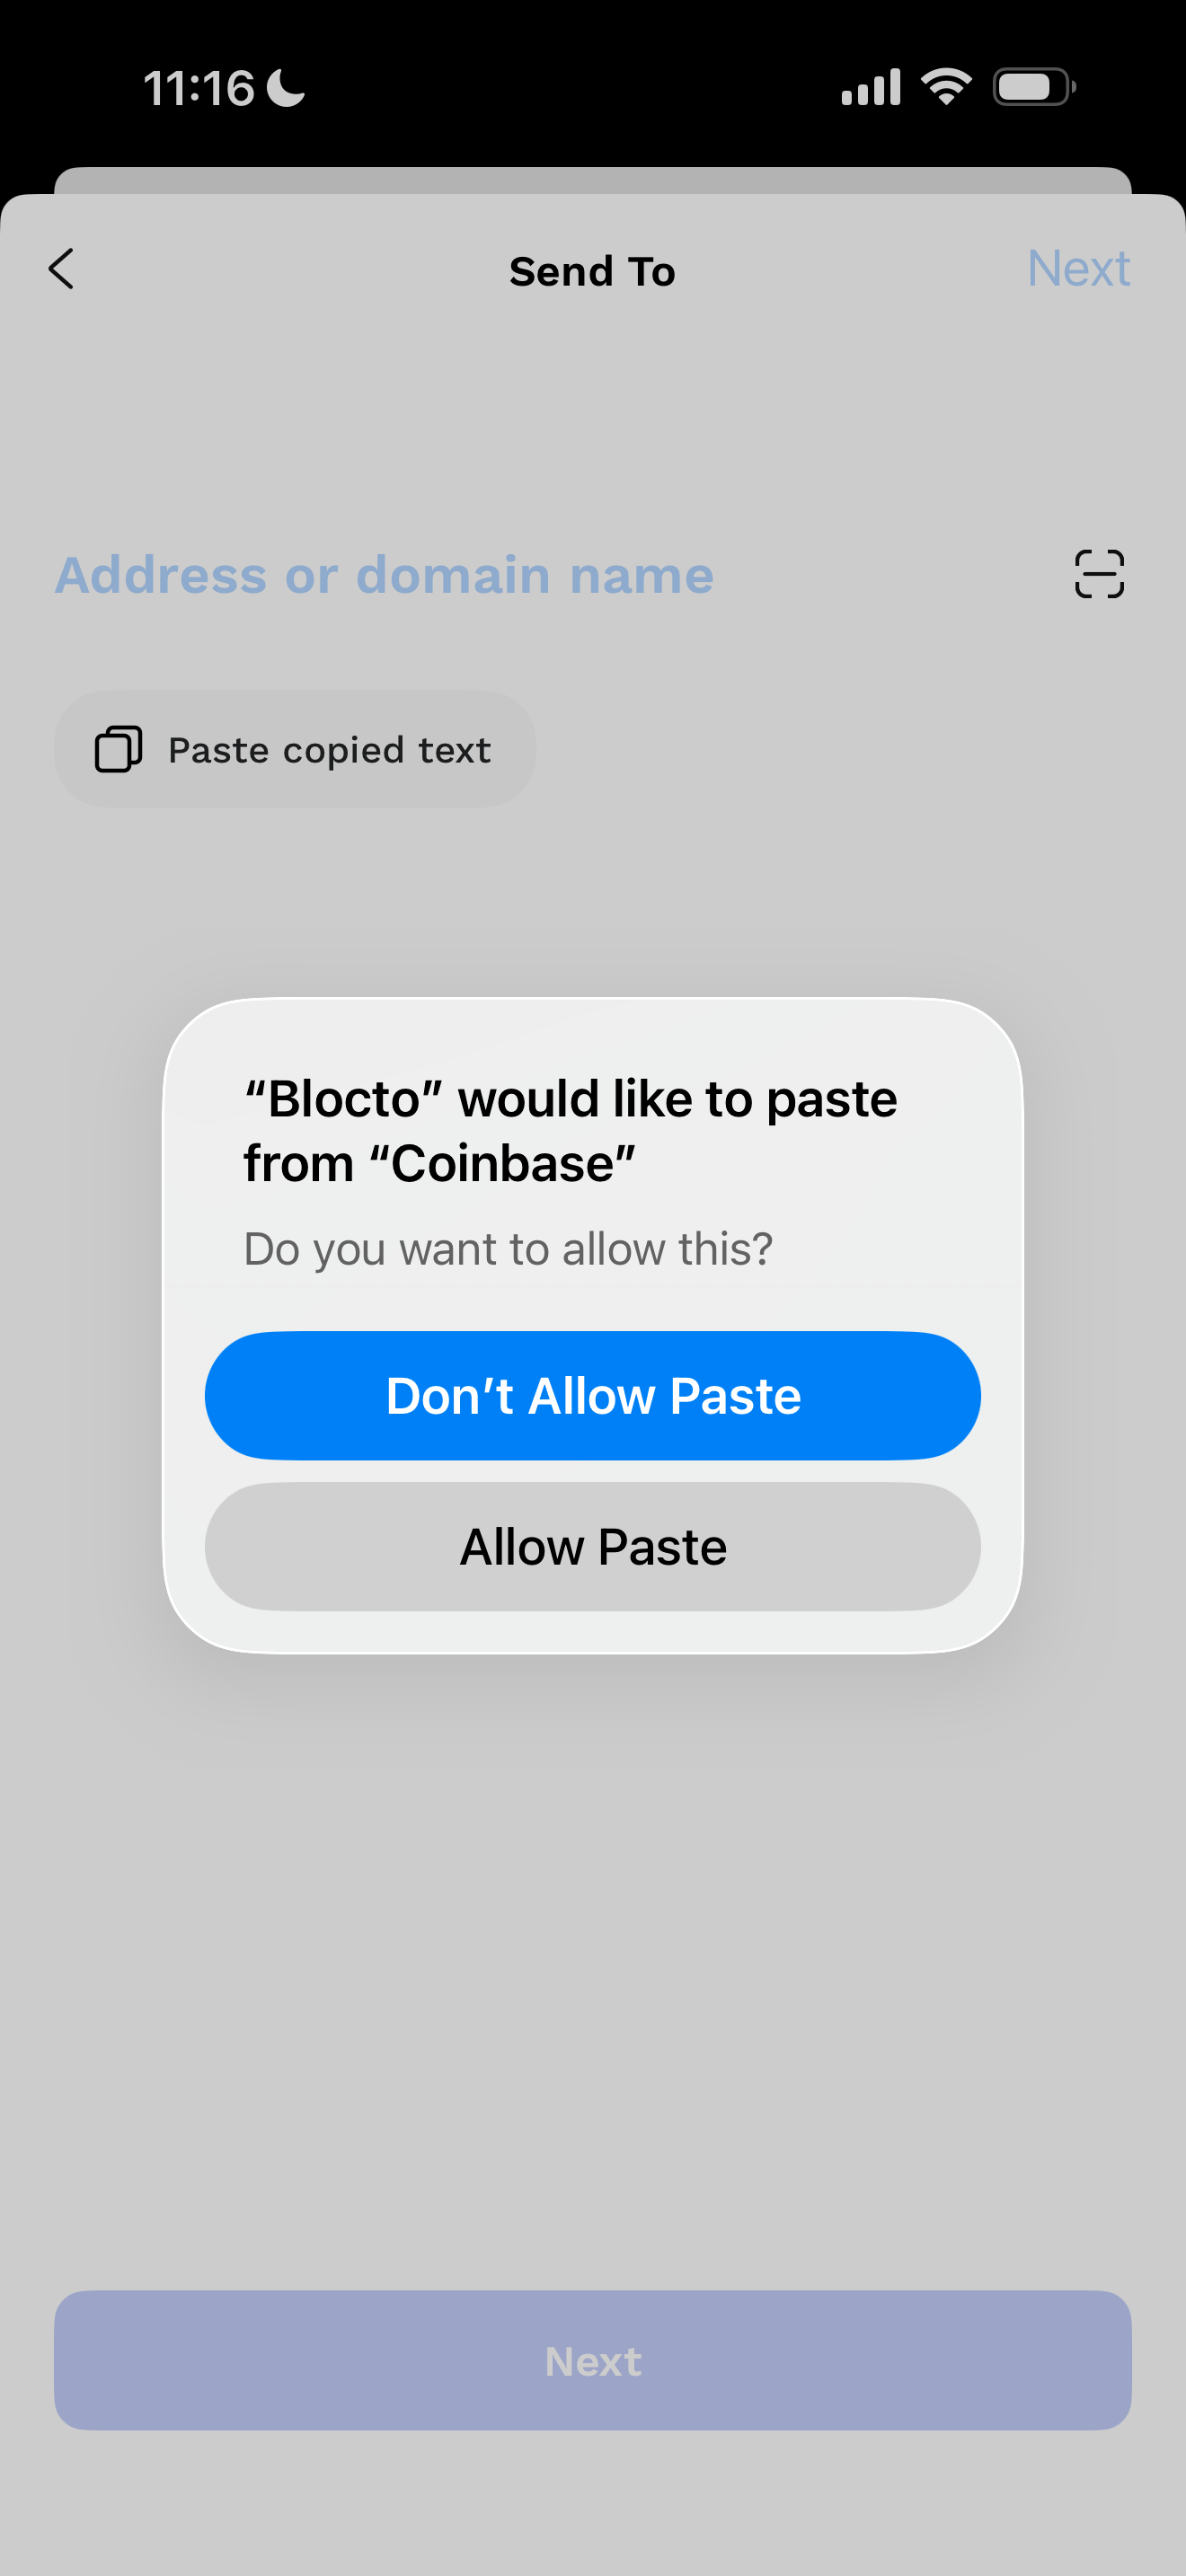
5.1 Recipient Address: Paste the deposit address you copied from the exchange.
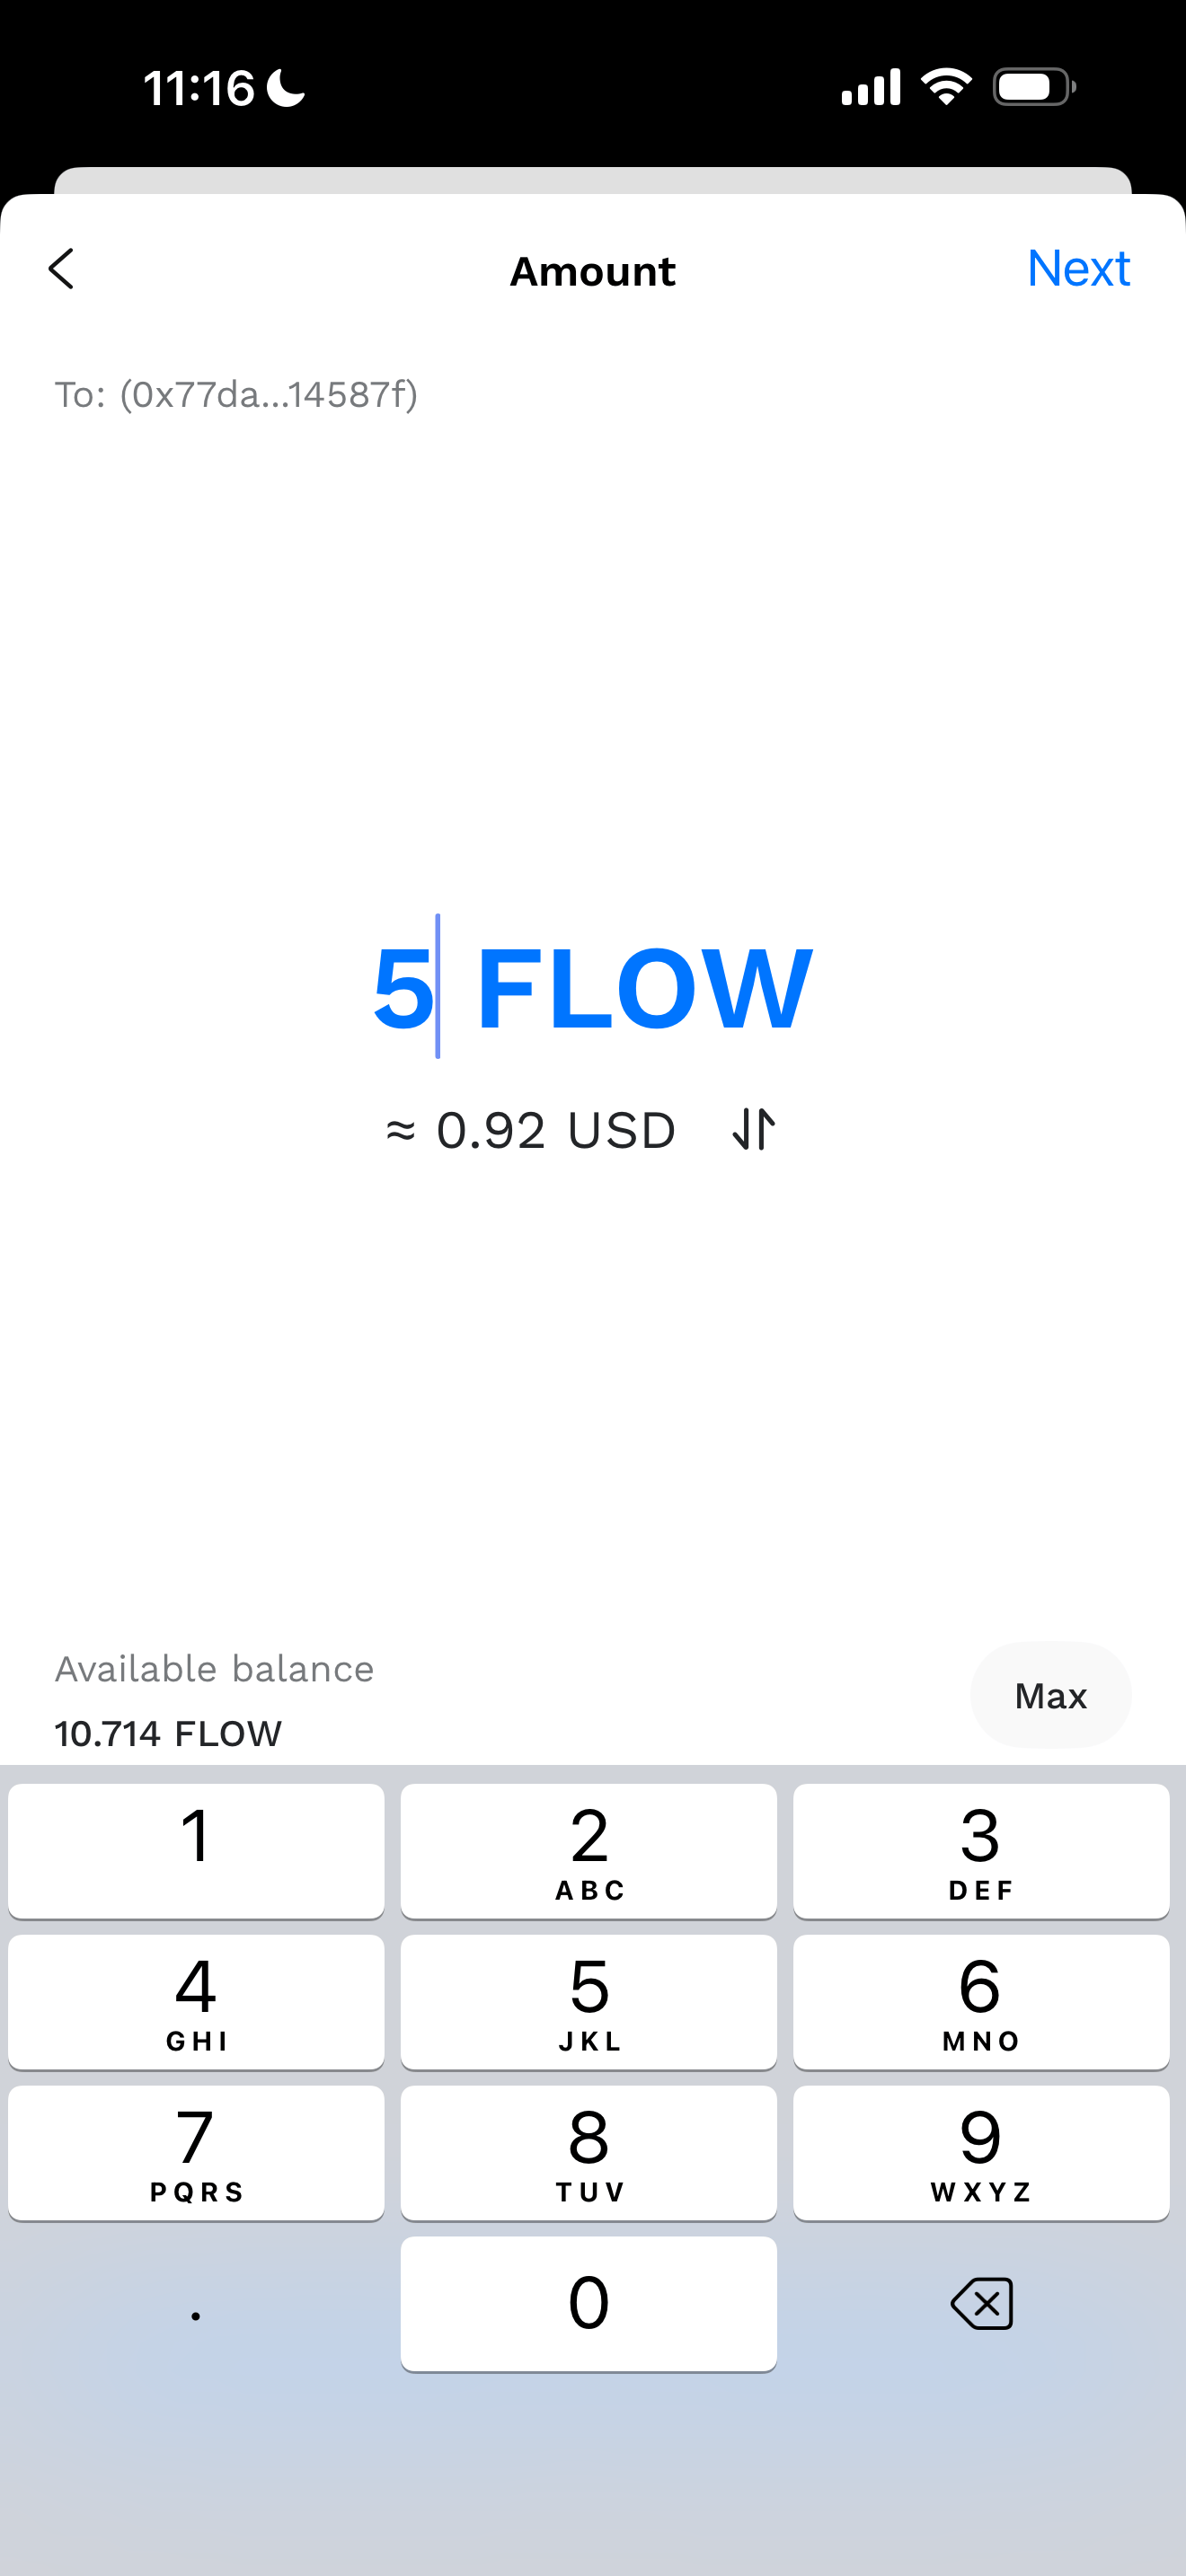
5.2 Amount: Enter the amount of $FLOW you wish to transfer (it is recommended to send a small test amount before moving the full balance to ensure the process has been done correctly).
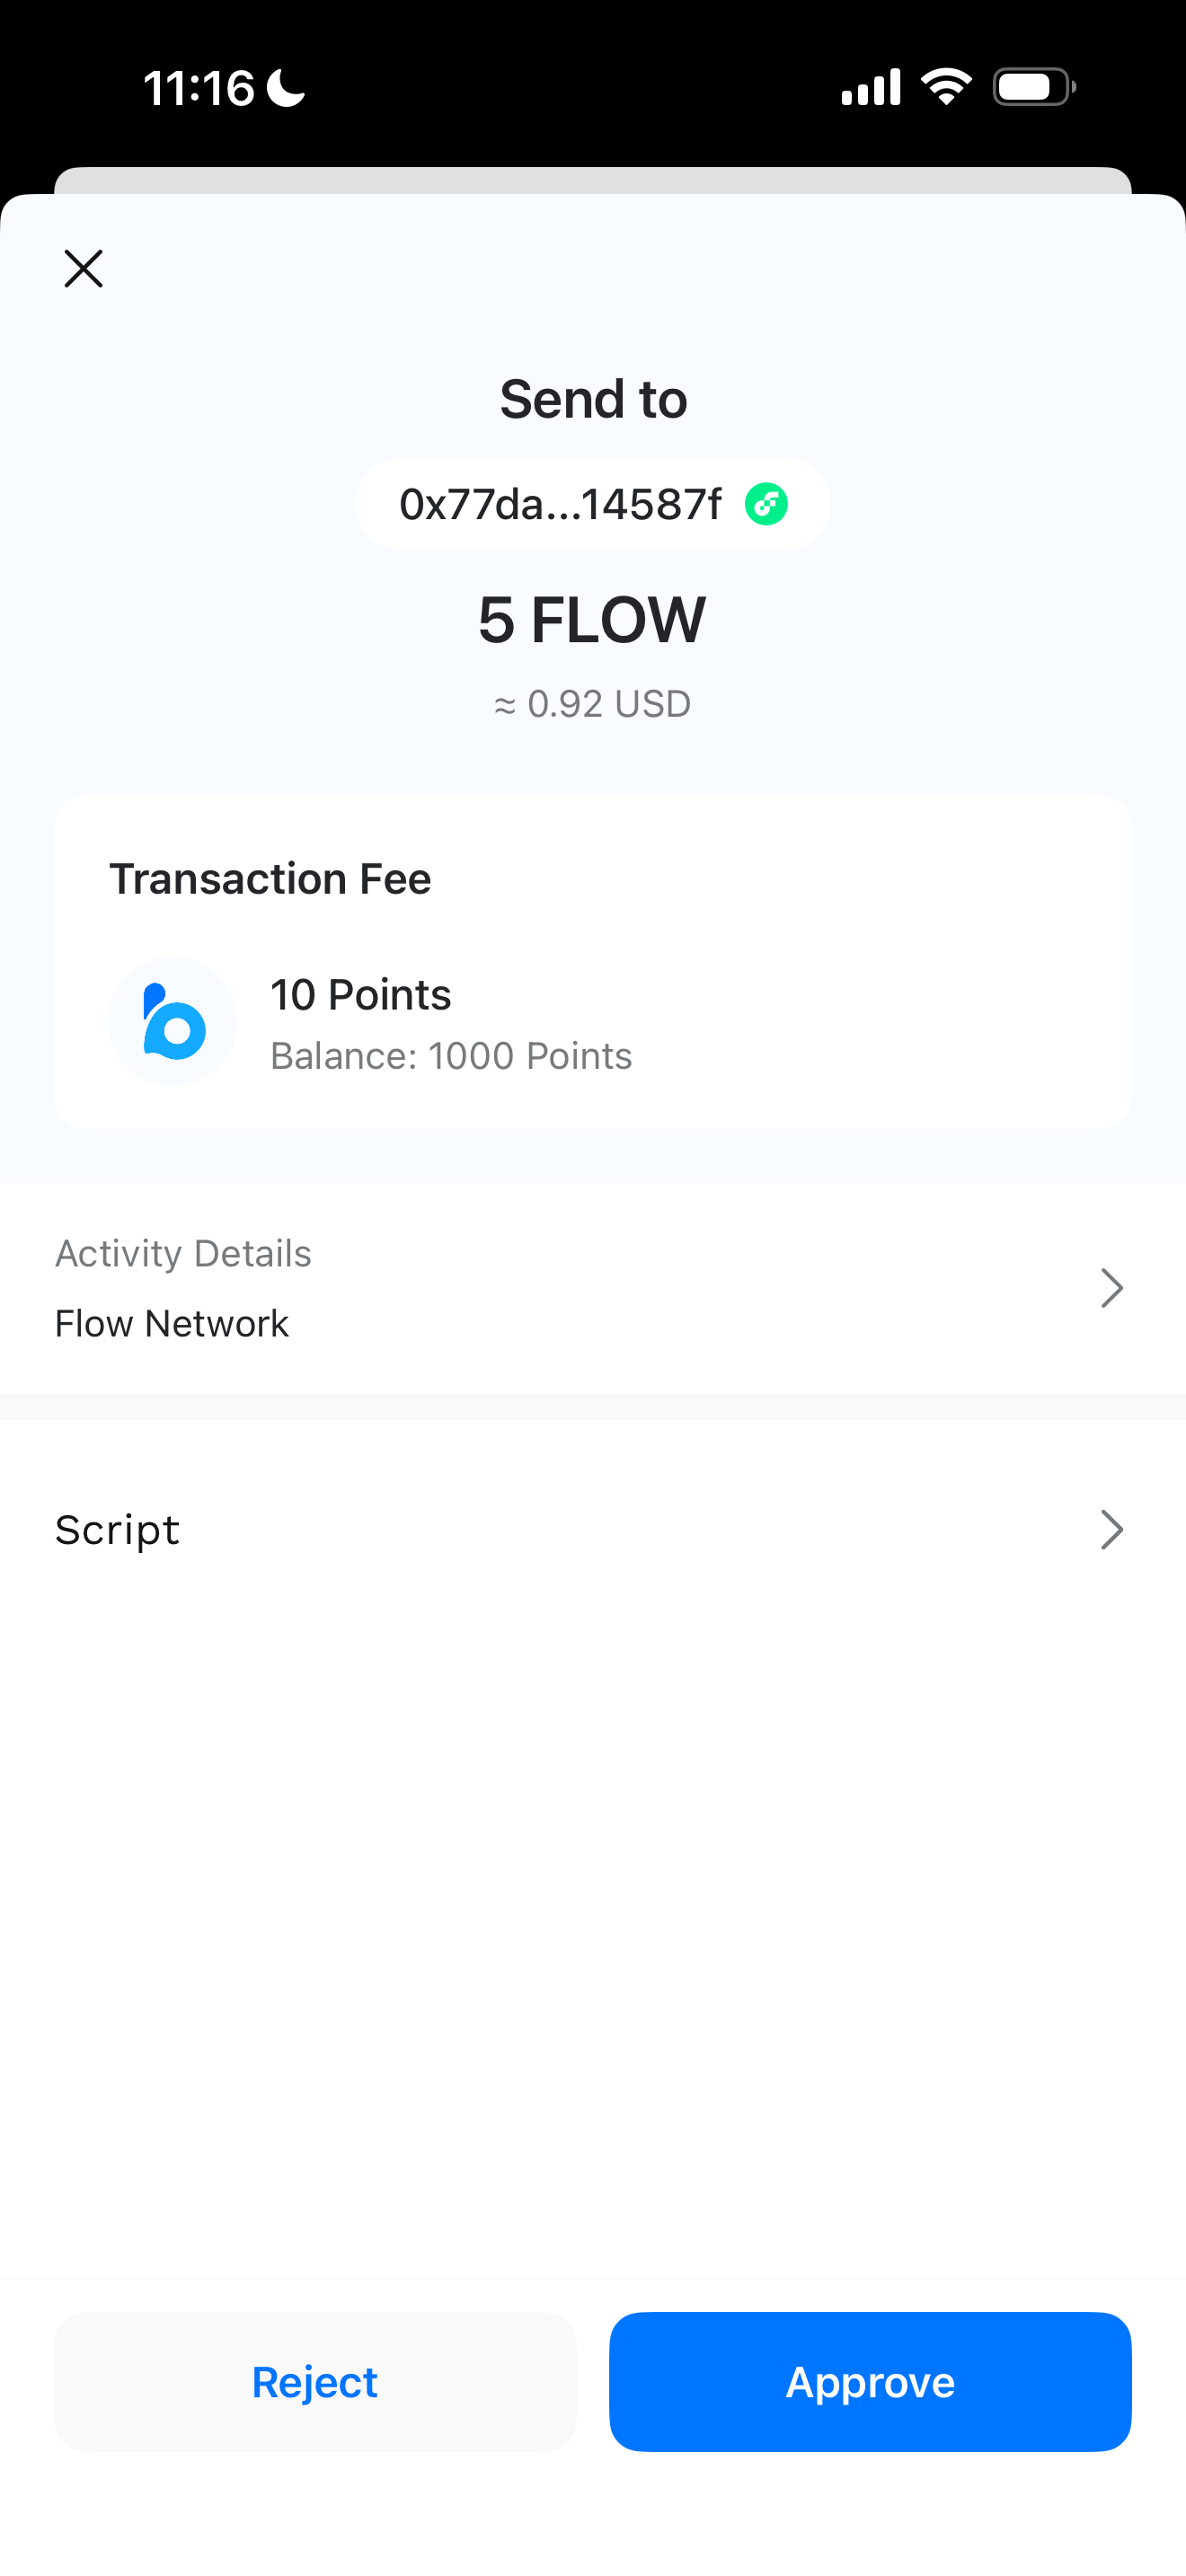
6. Review & Confirm: Click "Next" or "Preview" to review the transaction details. Double-check the address carefully. Confirm the transaction to send your funds.
Important Note for European Users: Coinbase no longer supports $FLOW in Europe. If you are a European user, please ensure you use a different exchange or choose one of the other methods.
Option 3: Manually Transfer to a Flow Wallet
If you prefer to keep self-custody of your assets, you can create a new Flow wallet (or use an existing one) and transfer your funds manually.
Steps to Transfer:
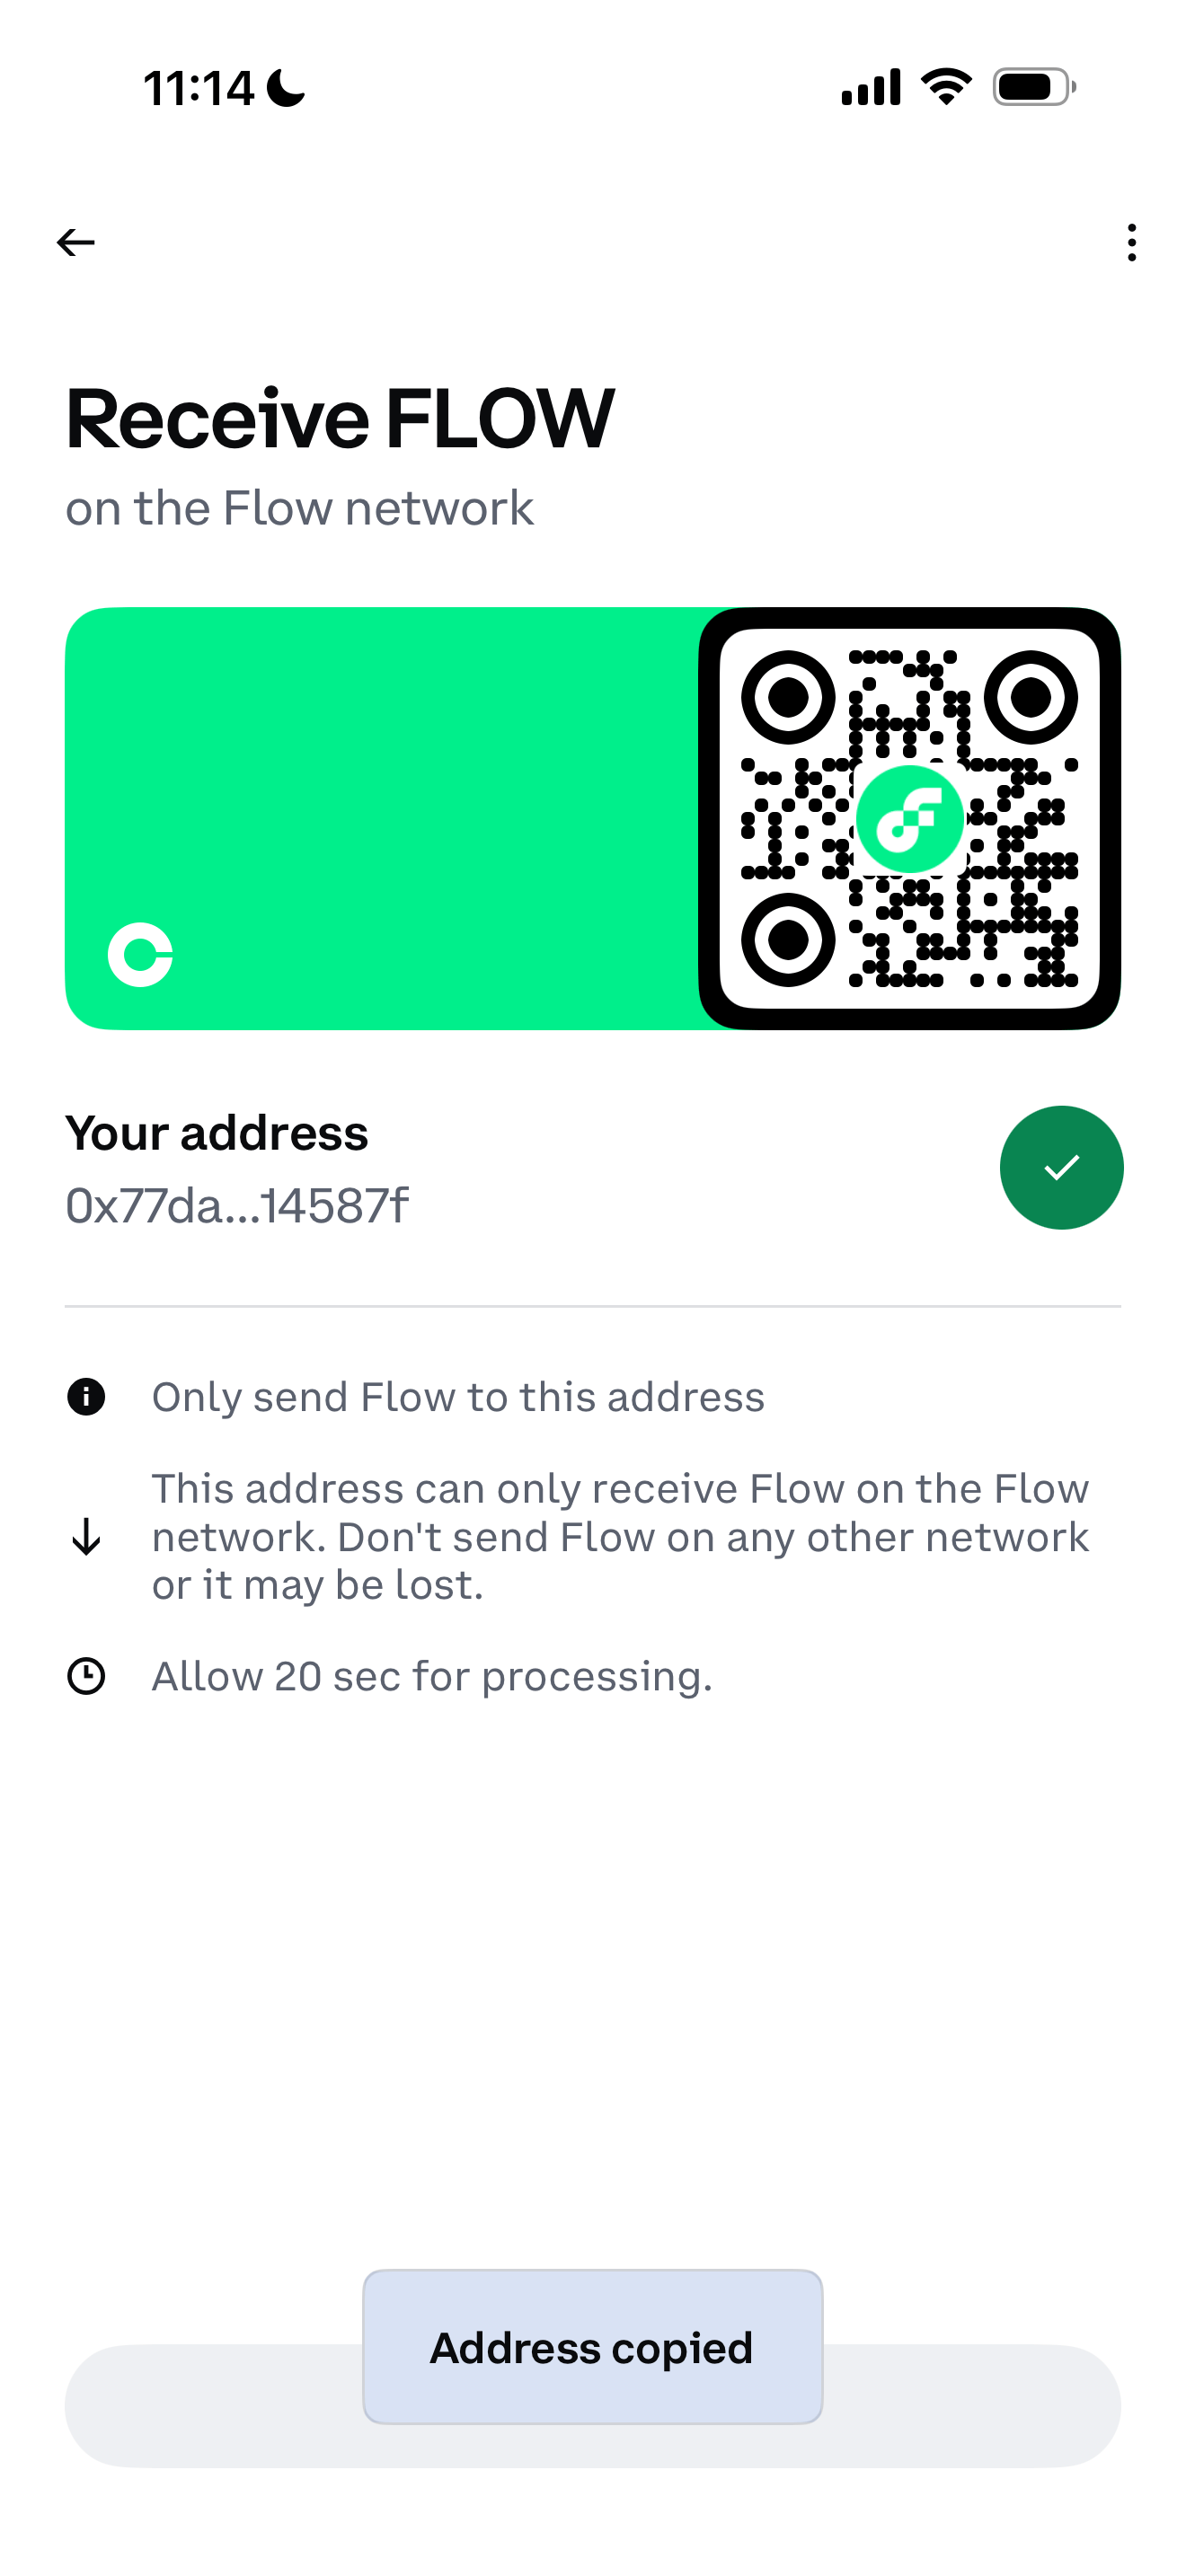
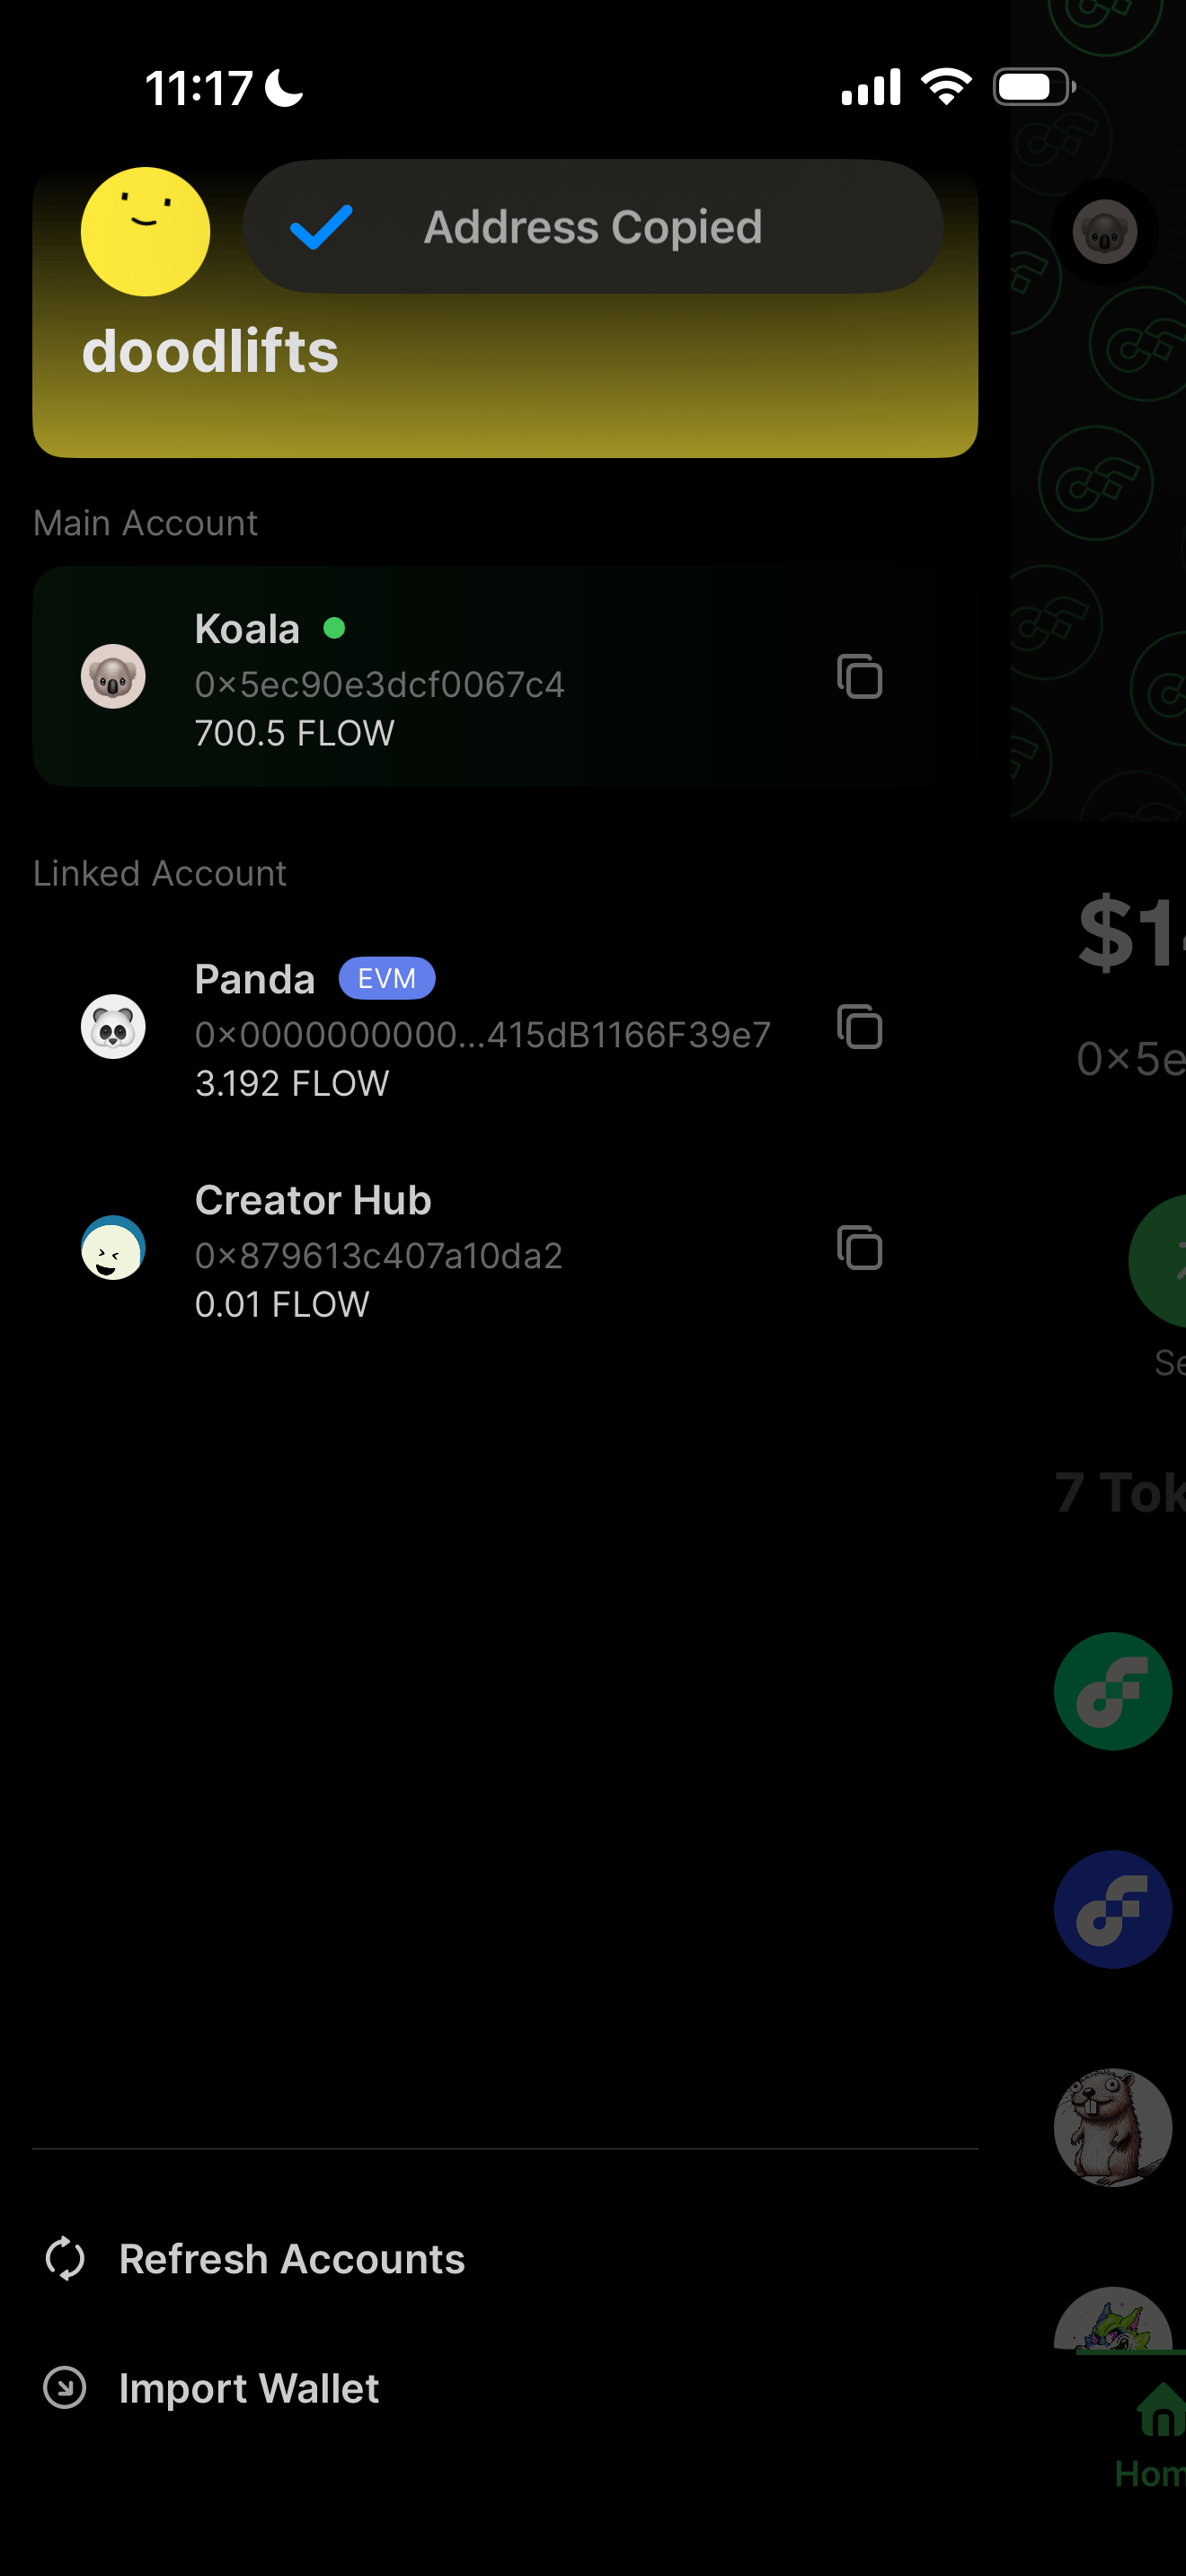
1. Get Your Receiving Address: Open your destination Flow wallet and find your "Receive" address. Copy this string of characters starting with 0x.
2. Open Blocto: Launch your Blocto app and sign in.
3. Select FLOW: Find and tap on the $FLOW token.
4. Initiate Send: Tap the "Send" or "Transfer" button.
5. Enter Details:
5.1 Paste Address: Paste your new wallet’s address into the "Recipient Address" field.
5.2 Enter Amount: Type in the total quantity of $FLOW you want to migrate.
6. Review & Confirm: Click "Preview Send." Verify that the destination address matches your new wallet exactly.
7. Send: Confirm the transaction and wait for the funds to arrive in your new wallet.
Tip: If this is your first time transferring to this address, send a small test amount first to ensure everything works before sending the remaining balance.
Don’t Wait Until the Last Minute
The deadline of December 18th at 7:00 PM PST is final. It is strongly encouraged that all users to complete their transfers or migrations as soon as possible to avoid any potential issues.